If you decide to draw separate walls for your wall coverings, you might wonder how to draft these efficiently. Of course you can trace the outline of the “naked” walls manually, but this feels like you are back in AutoCAD again. And then there’s still the problem of needing empty door and window holes in the new finishes. Do you really have to setup each of them manually?
Using the wand tool we can drastically speed up the first part of placing the walls and with appropriate transfer settings for windows & doors also the second part isn’t too bad either.
(If you want to automate all of these steps, you should try my Room Coverings Add-On!)
Step-by-Step Guide
Wall Coverings
- Create a separate layer with a distinct intersection number for the wall coverings

- Setup the wall tool to use the finish you want and set it on the correct layer

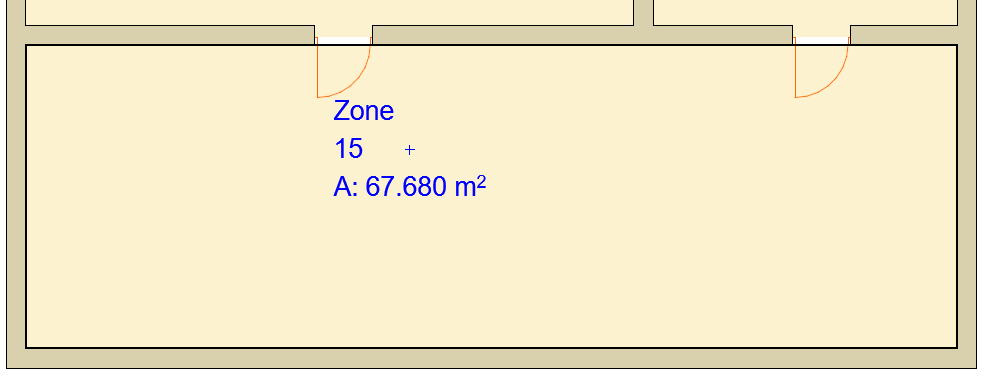
- While hovering over a zone, hold the
Spacebar(the magic wand icon appears) and thenLeft-Click
Never miss Add-On updates, special price offers or an article! Sign up for the newsletter and you’ll receive roughly one mail per week from me (occasionally more when there’s a special price upcoming).
Wall Holes for Doors
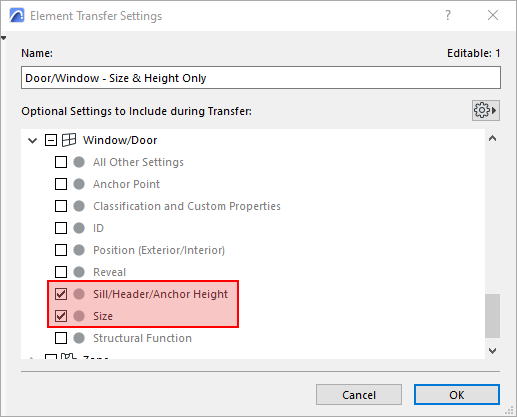
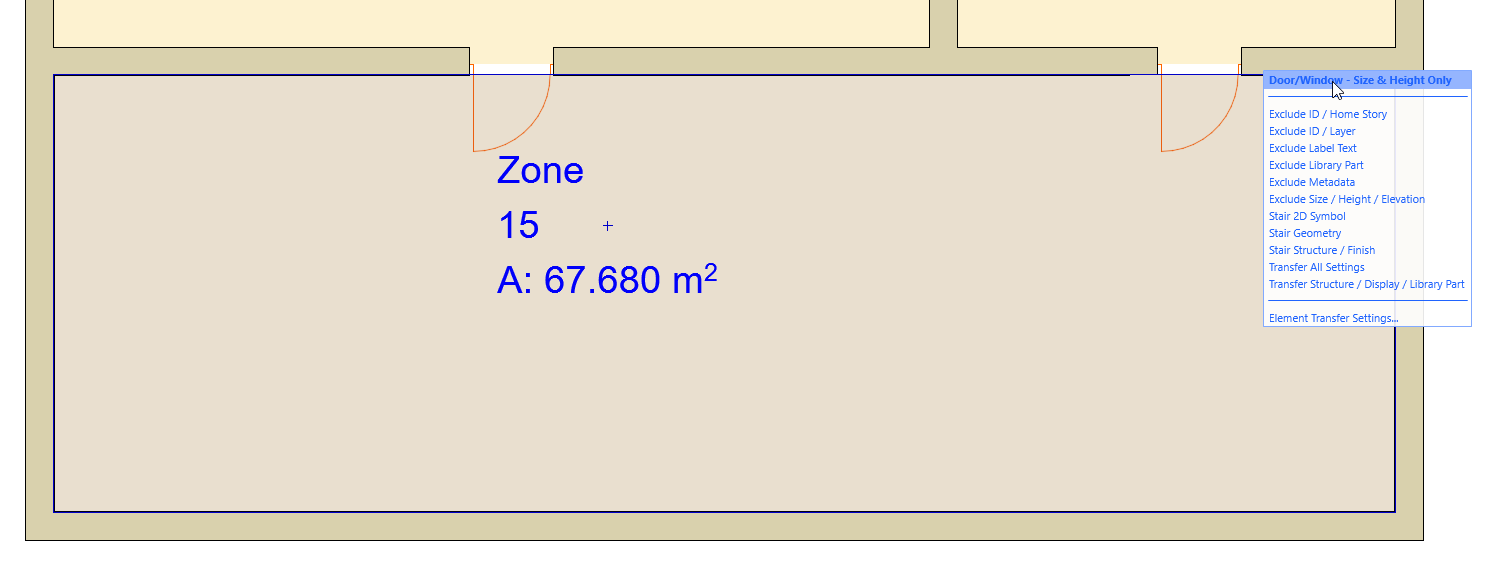
- Setup new element transfer settings to only transfer size & height of windows and doors
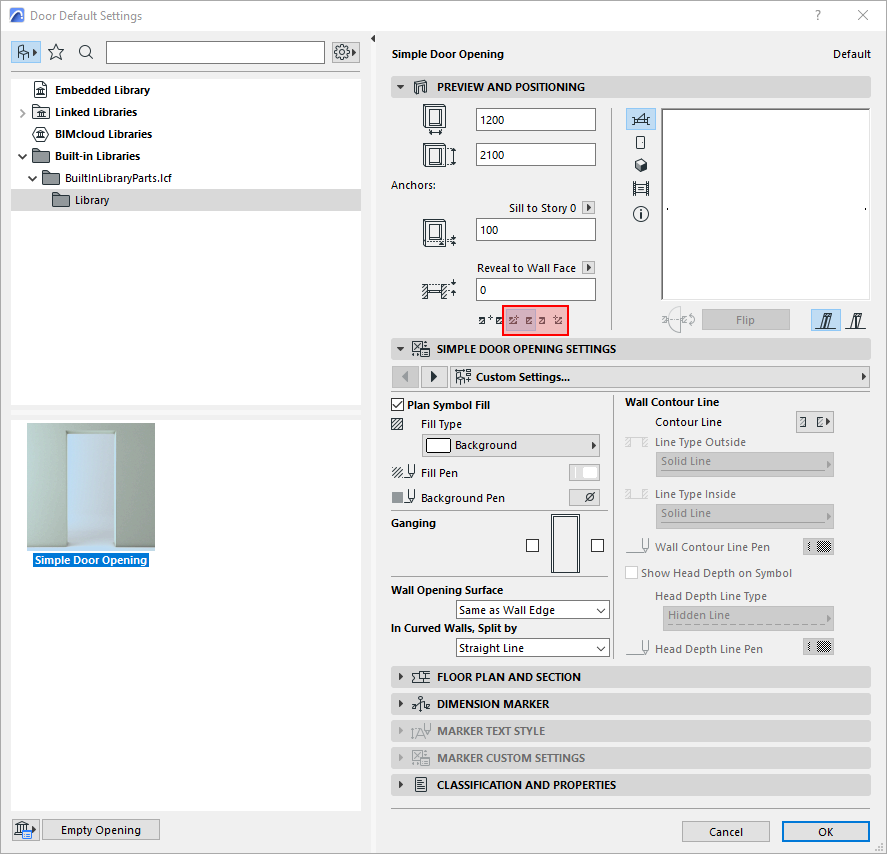
- Setup empty doors with the anchor point on one side. (There’s no need to specify the size and sill height, since we are injecting them in a later step)
- Place all empty door holes in the wall covering using the snap point on the side
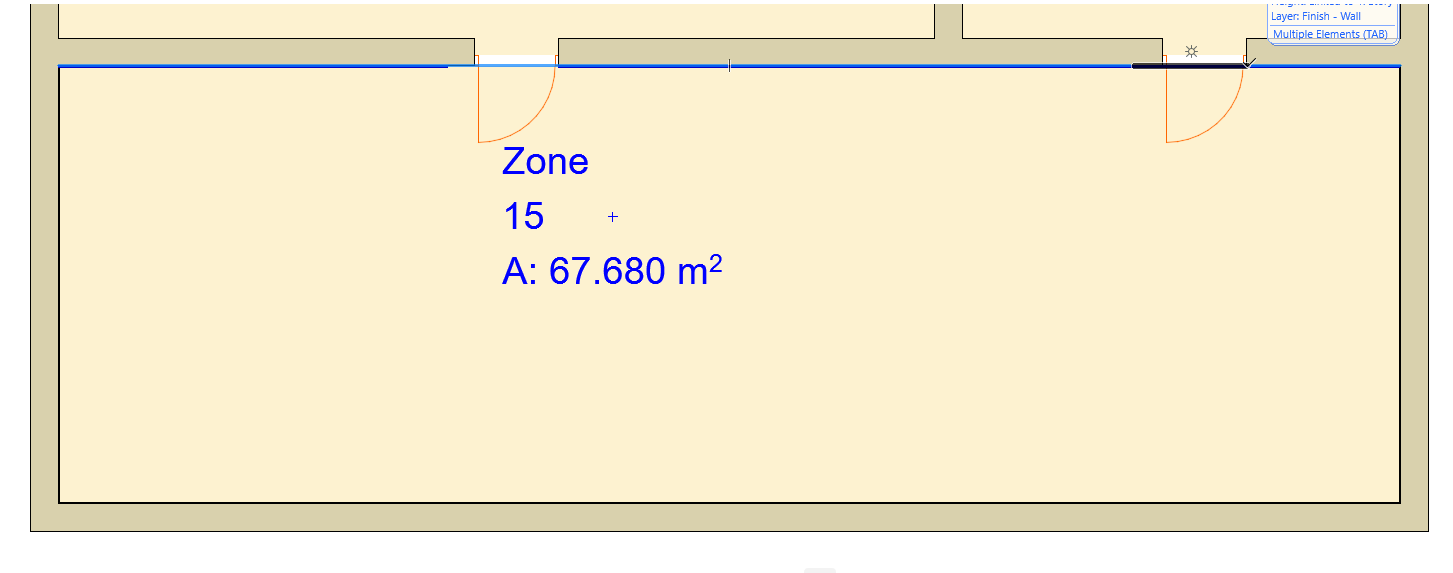
- Transfer the size & sill height with our transfer settings
Try it Yourself
To help you get started with this workflow, I’ve exported my transfer settings for you to download.
Click here to download the door & window transfer settings.
Now import these settings and try out the above steps in one of your projects.
Leave a Reply